The first step is to sign up to the website. You can do so by providing your First Name, Last Name, Email Address (which is then will be used for login), and Password.
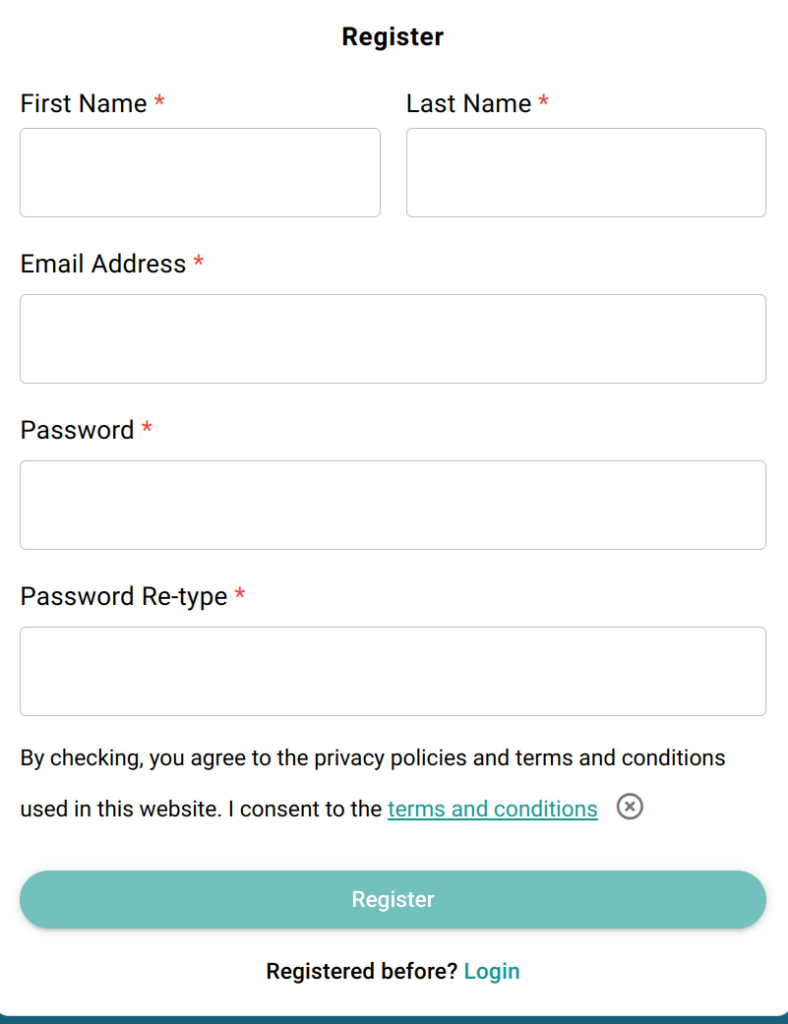
After successfully signing up, you need to activate your account by clicking on activate account link that is being sent to your provided Email address.
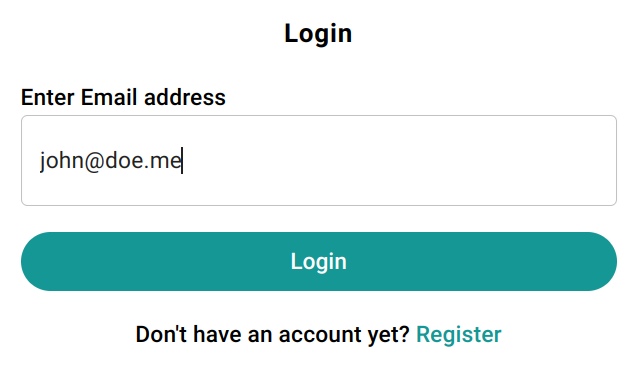
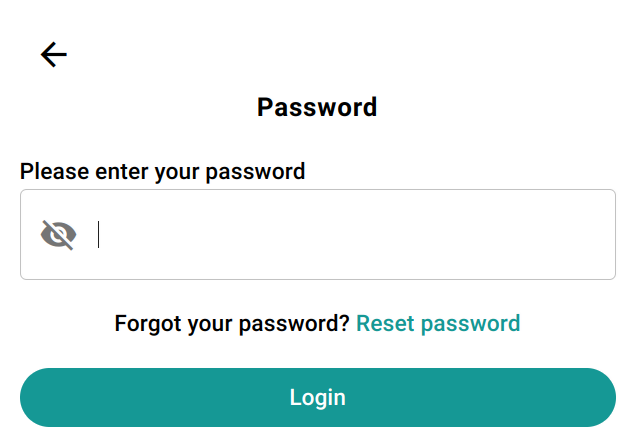
You can then login using your Email address and your password.
Upon your first successful login, you must create an Organization to be able to use Amojisys features like creating services or so.
Organization is the entity where you can add your co-workers, manage their roles, and manage your services inside it.
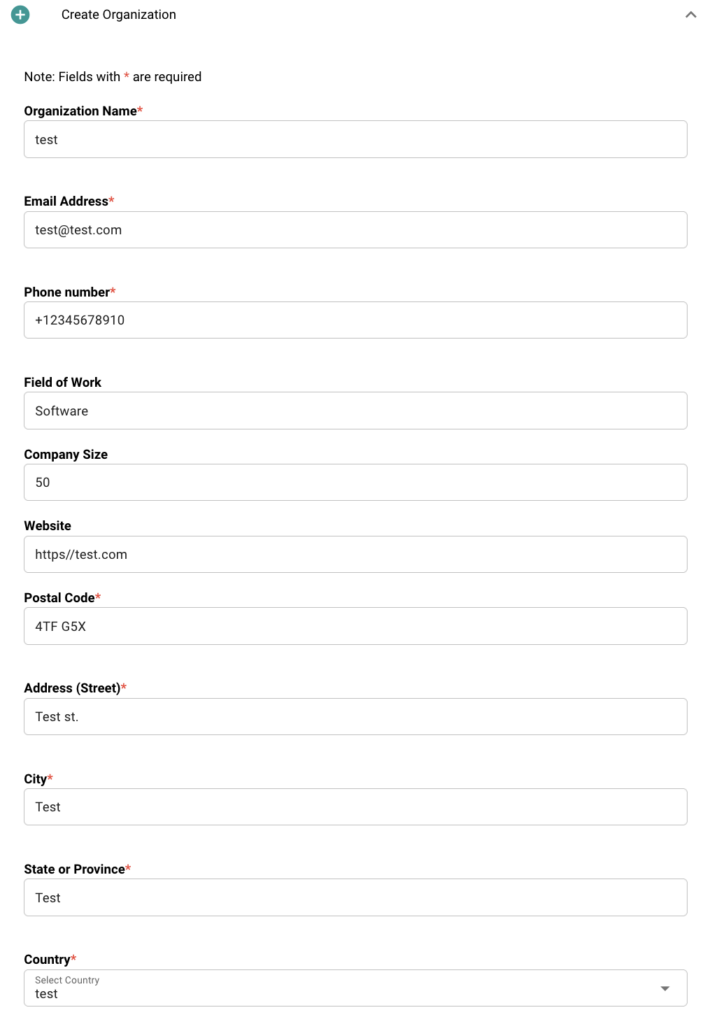
After organization creation, you can add, edit, or delete members from it.
You can always edit your Organization information as well as deleting your Organization.
Note: If you try to delete your Organization, you need to delete all active services, pay the balance, and then the Organization Owner will be able to delete the Organization.
Members of an Organization might take different roles. Roles in Organization include:
- Owner
- Admin
- Member
Owner is the creator of the Organization which has full access over the organization, including invitation of different Organization members with different roles, managing services, invoices, and billing.
Admin is a member of Organization that can manage users within an organization. However, it does not have the authority to add/delete services, delete organization, or billing related permissions such as paying invoices and modifying payment information.
Member user is a Read-only member of the Organization.
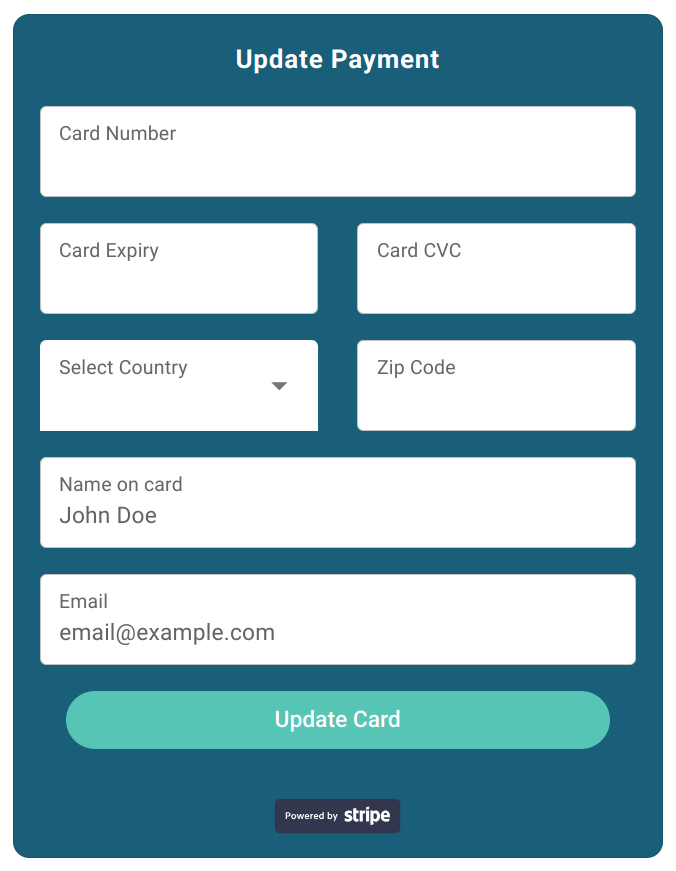
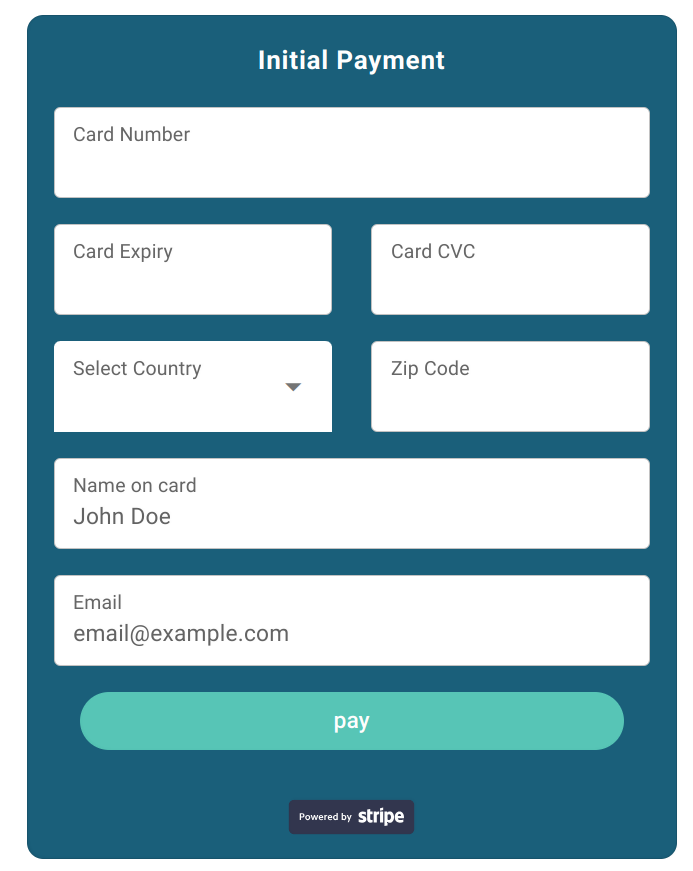
By successfully creating your Organization, the next important step that you need to take is to add your credit card and do the Initial payment.
Payments in Amojisys are fully supported and protected by Stripe which is fully trusted around the world.Initial payment is 20$ and is used as an initial credit that you can use to create services. Following invoice payments are charged monthly from your card depending on your usage.
Note: You will not be able to create any services until you do the initial payment.
Currently we offer a 20$ gift credit, so you do not need to make an initial payment. You will only need to enter your card information to store it for automatic invoice payments by the end of each billing cycle (each month).
We will not store your card, or process your payments. All your payment information will be handled by stripe.
You can always update your card in case of expiration, deactivation, etc.
Services are the building blocks of Amojisys. You can create, edit or delete different services that you need with a few clicks. Amojisys provides three types of services including:
- CI/CD Cluster
- Code
- Version Control
To create a service, from the Menu on the left-hand side select Services and from the list provided select Service Overview.
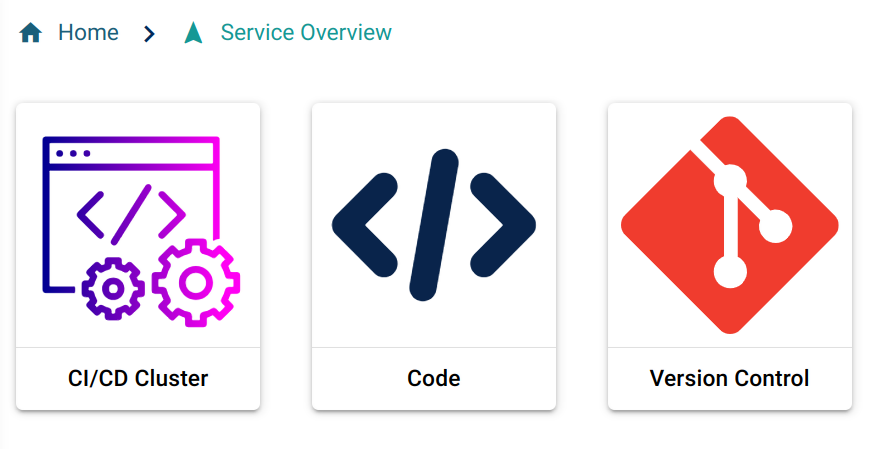
By selecting each type of the service, you will be directed to the service page.
Amojisys makes it possible for you to create a CI/CD Cluster on our servers efficiently and within a few clicks. To do so, you can select CI/CD Cluster from Service Overview page or Select it via the left-hand side Menu under service menu.
By going to CI/CD Cluster page, you will be able to see the CI/CD services provided by Amojisys. In the screenshot below, you can choose Jenkins Cluster which will direct you to its page. Depending on your permission, you will be able to see a table of current services, New Cluster button, and a red delete button to delete an existing service. By Clicking on New Cluster button you will be able to create a new Jenkins cluster which will be accessible via the following address online:
https://[SERVICE NAME].jenkins.amojisys.com
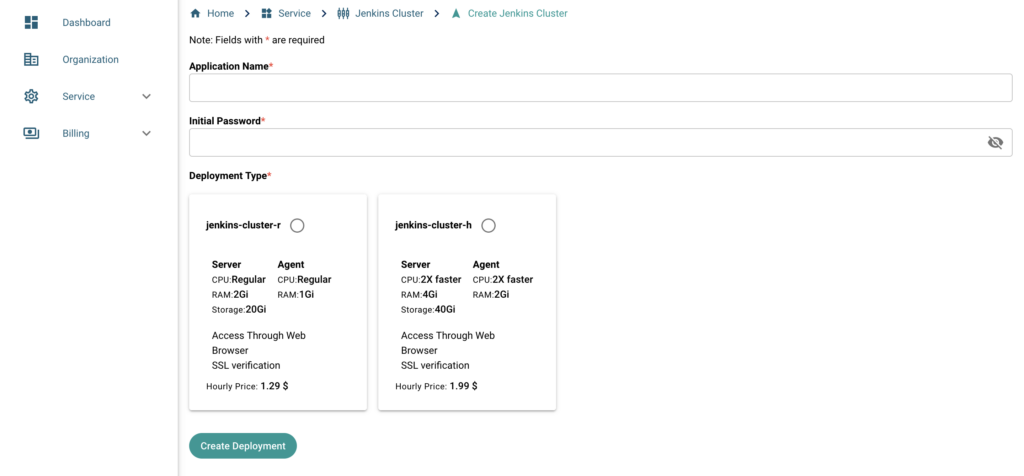
Amojisys provides two types of Jenkins Clusters: Regular and High-Performance that you can choose from.
For creating a Jenkins Cluster you need to enter the Application Name, Initial Password for authentication, and type of deployment.
After a successful creation, you will be able to see your service in Jenkins Cluster list.
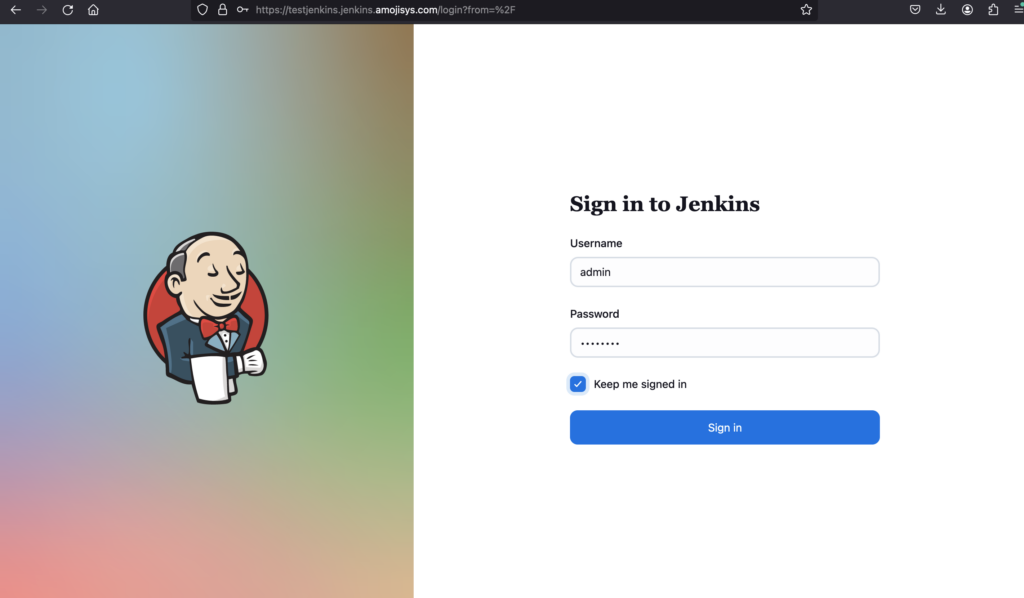
Once the application is available you can sign in to your cluster with the “admin” username and your provided password.
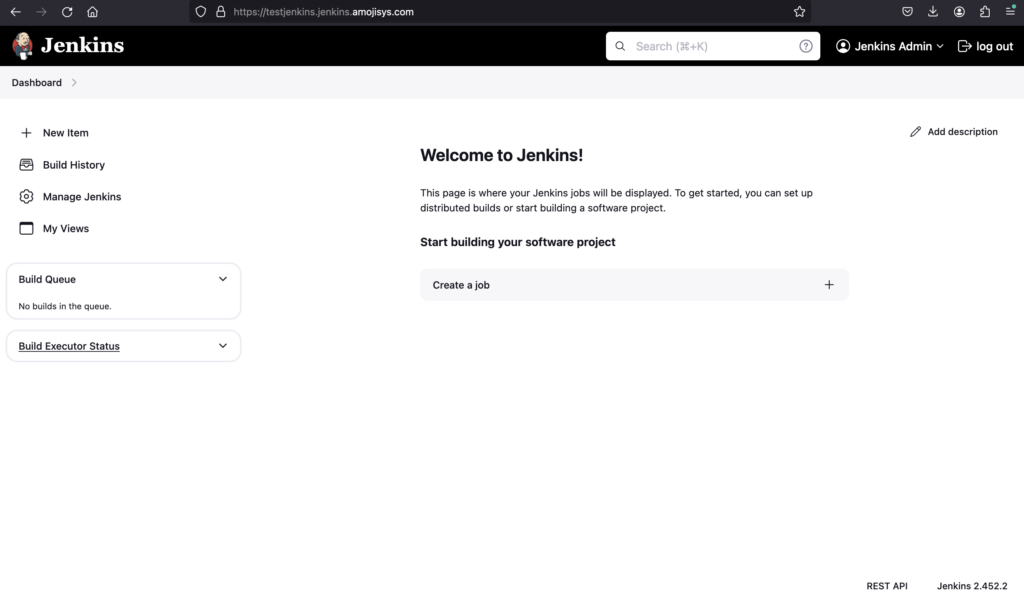
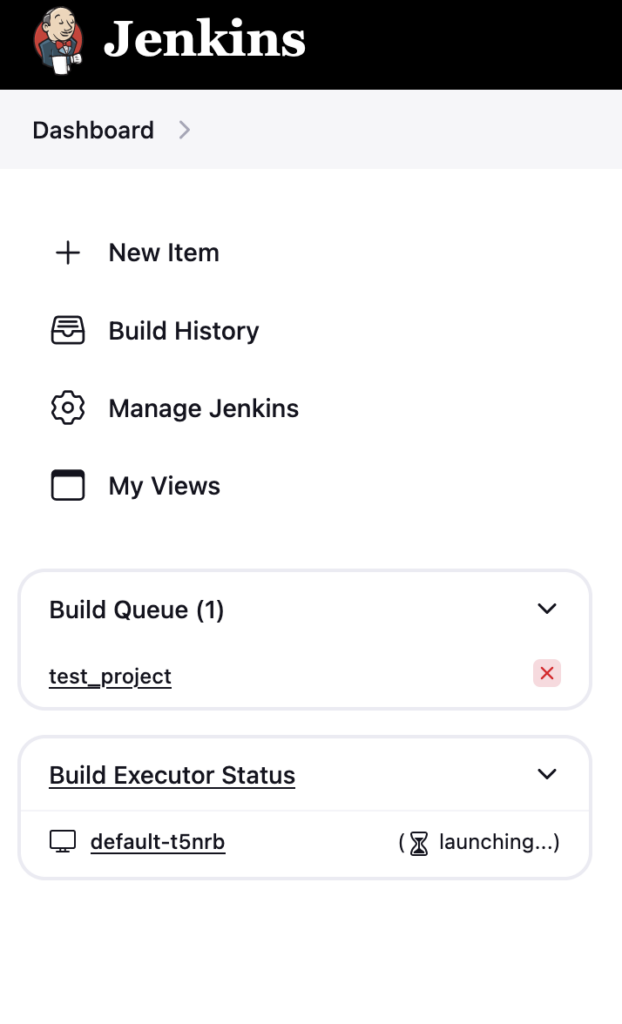
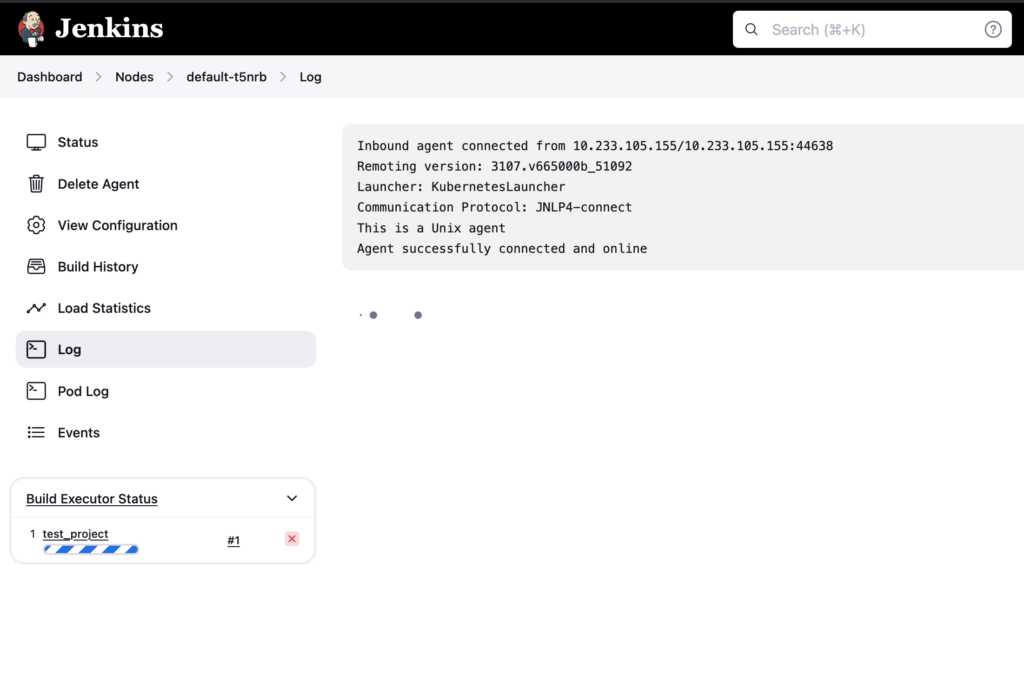
Our Jenkins service will include an extra server (agent pod) which will take care of your executions. By using this service, you don’t need to create an executor. Once you build your job, an executor will be automatically created to process the job.
You can navigate to Version Control page either via Service Overview page or via the left-hand side menu under service menu.
By navigating to Version Control page you will be able to see the Version Control services offered by Amojisys. As an example, you can create a Gitea deployment. Once you click on Gitea service, you will see a table of current services, New Gitea button and a red delete button to delete an existing service. By Clicking on New Gitea button you will be able to create a new Gitea deployment which will be accessible via the following address online:
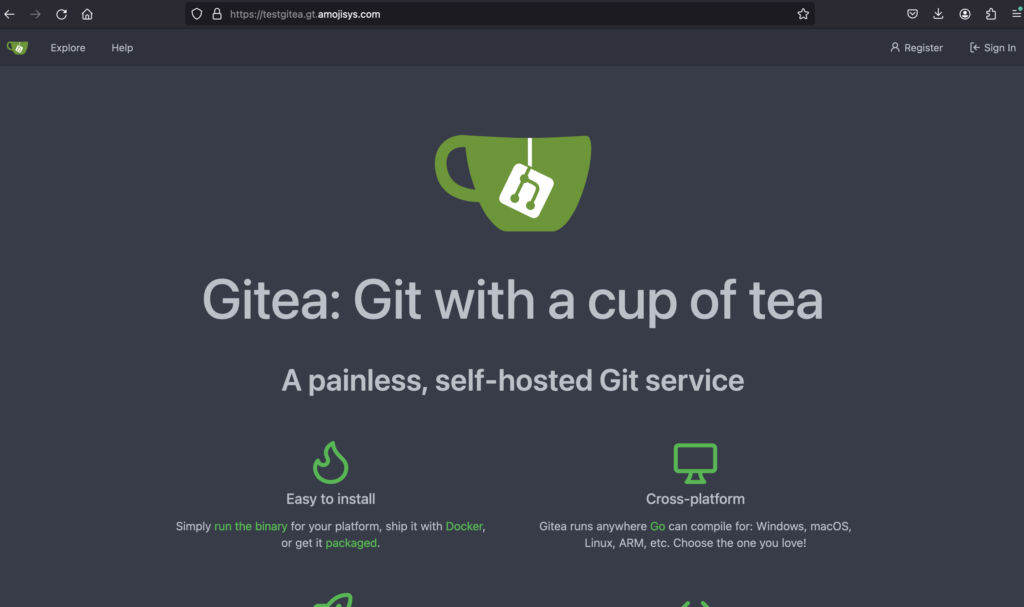
https://[SERVICE NAME].gt.amojisys.com
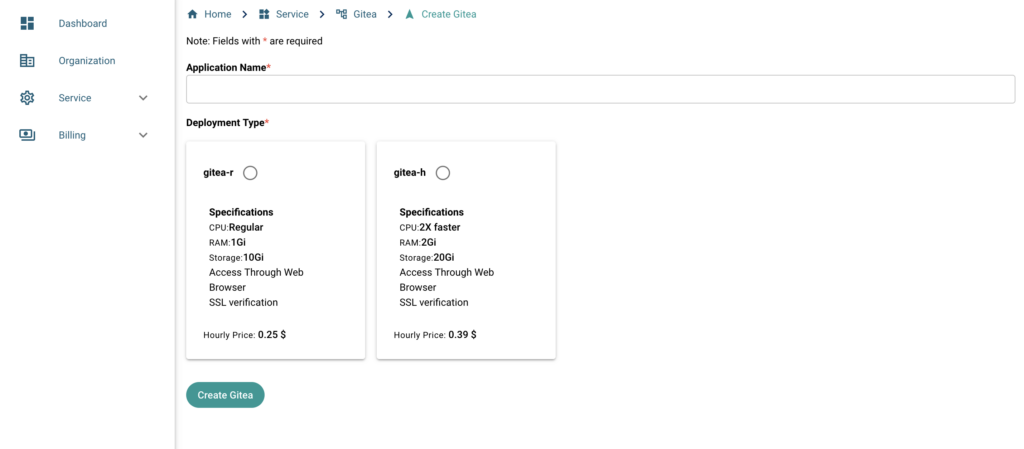
Amojisys provides two kinds of Gitea Services: Regular and High-Performance (Premium).
For creating a Gitea Service, you need to enter the Application Name the type of deployment.
After a successful creation, you will be able to see your service in Gitea Services list.
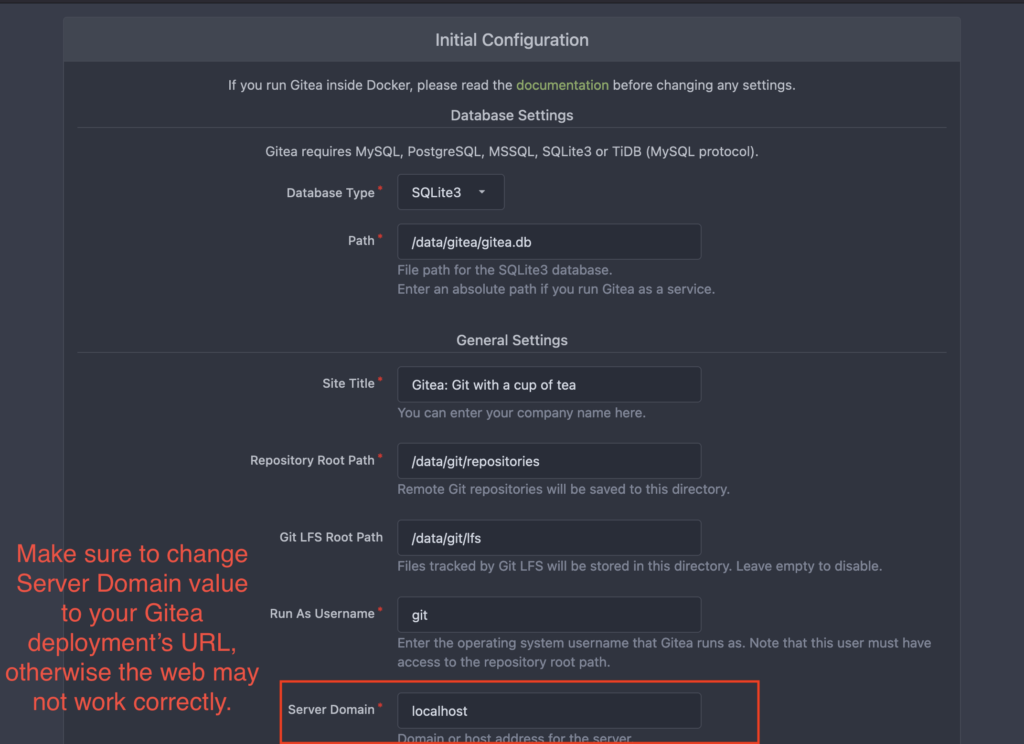
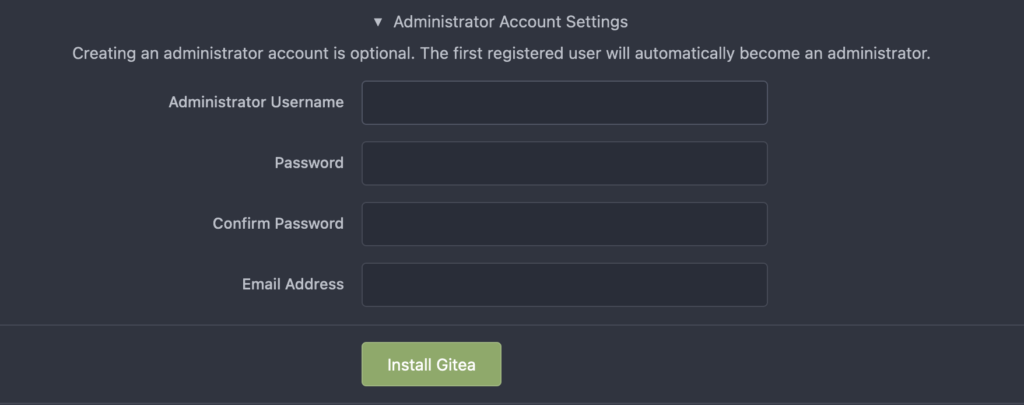
Once the application is available, you can access and set up your Gitea environment through the provided URL.
As shown below, please make sure to change Server Domain Value according to the value that is provided to you (ex. “test.gt.amojisys.com”). If you do not update the value, you may not have full access to your Gitea instance.

By using Code you can collaborate with your teammates easily or do pair programming in one cloud hosted code editor. To access Code service you can navigate to Code page either via Service Overview page or via the left-hand side menu under service menu.
By navigating to Code page you will be able to see the Code services that is provided by Amojisys. as an example, you can choose Code Server and go to its page. In Code Server page, you will see a table of current services, New Code Server button, and a red delete button to delete your service. By Clicking on New Code Server button you will be able to create a new Code Server which will be accessible via the following address online:
https://[SERVICE NAME].cs.amojisys.com
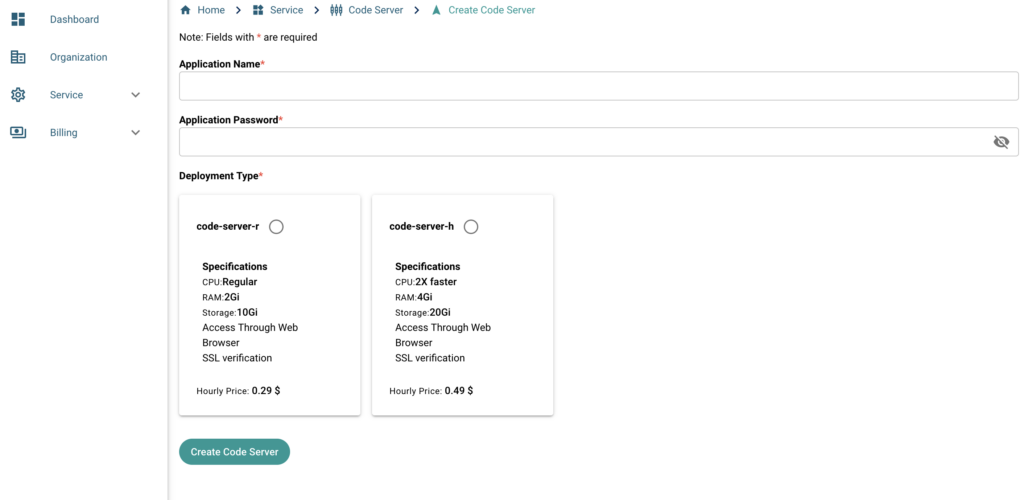
Amoji provides two types of Code Server Services: Regular and High-Performance (Premium).
For creating a Code Server, you need to enter the Application Name, Application Password, and type of deployment.
After a successful creation you will be able to see your service in Code Server Services list.
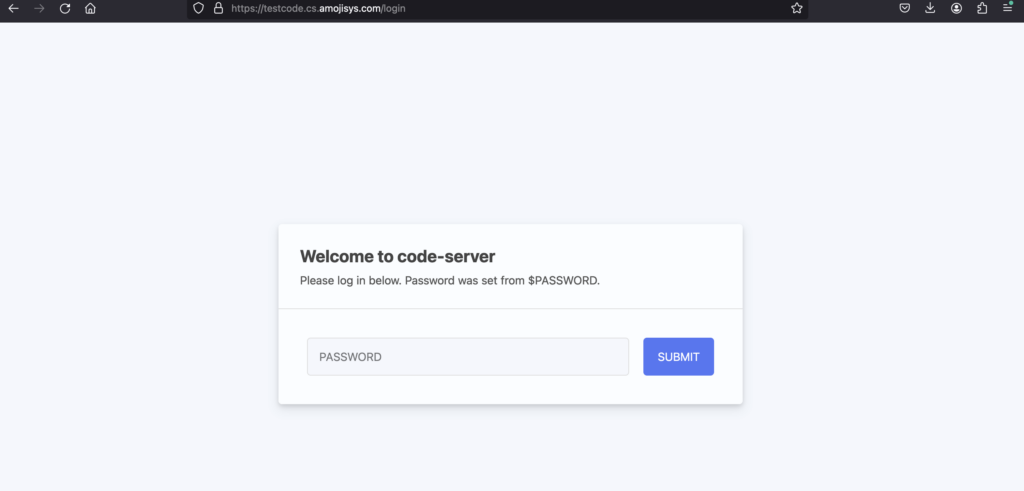
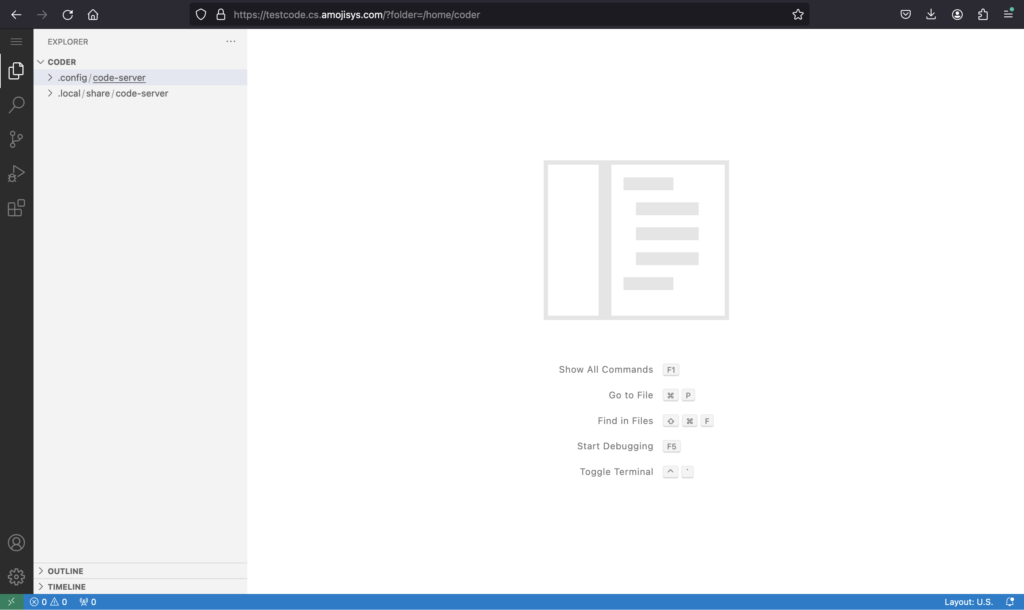
Once the application is created, you can access the server via the provided URL and the password which you entered during the creation.
Amojisys billing system is Pay per Use. This means that Amojisys will not charge you until you use a service. (Only for the first hour, you will be charged the full hour since the purchase).
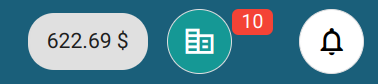
You can always check your current usage as well as your user and organizational notifications from the top bar in the right side next to User Profile menu.
Amojisys invoices will be created monthly, charged automatically to your card, and will be emailed to your Organization’s email address. Invoices are also accessible in details under the Billing menu from the left-hand side, named Invoices.
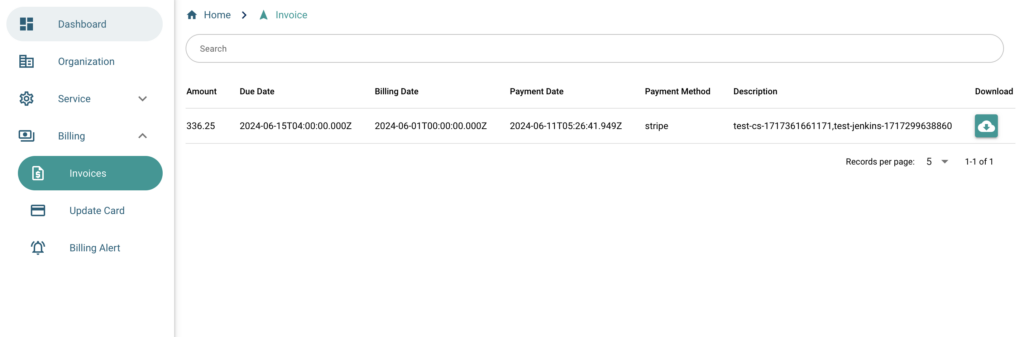
You can also download a full PDF version of your invoice from the last column of this table by clicking on the clickable button.
Note: if you have missed a payment of your past invoice, you will have an additional option to pay it.
IMPORTANT: Please make sure that your invoice is paid within 15 days. Otherwise, we will have to remove your services.
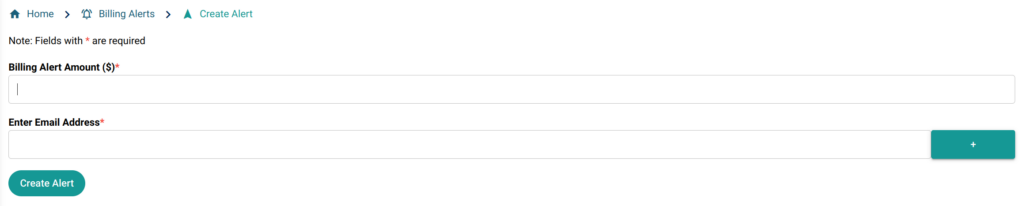
You can create a Billing alert that notifies you by sending an email whenever your usage exceeds the amount you specified.
You can navigate to Billing Alert page via left-hand side menu under Billing section. You will see a list of alerts as well as Email addresses that alerts are meant to be sent to. To create a new Billing Alert you can click on the New Alert button and set the amount as well as Emails that are meant to receive the alerts.
In case if your card information is changed or expired and the information you initially provided is not valid anymore. You can always update your card information using the Update Credit Card menu under Billing menu in the left-hand side menu.
Note: If your card information is changed and the information is not updated, you will not be able to create new services and your current services will be deactivated after a while.